So I needed (wanted) a new desktop in order to better handle some programs and games that my current laptop couldn’t handle, but I also didn’t want to shell out top tier money for that. What could my options be?
- Buy a new system (ruled out)
- Trade for a new system (possible)
- Build a new system out of e-waste (sounds like fun!)
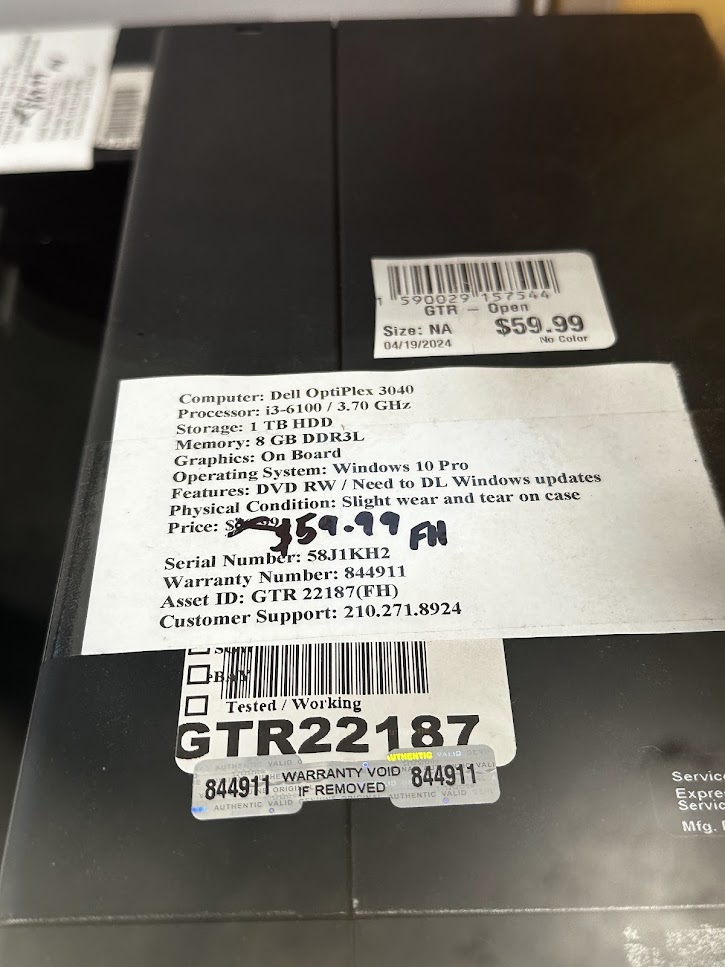
I started with a Dell Optiplex 3040 MT, salvaged as an e-waste product from Goodwill. This base model, featuring an Intel i3-6100 processor, 8GB of RAM, and a 1TB hard drive with Windows 10 Home installed, served as the foundation for this upgrade project. I bought this during a 50% off storewide sale that Goodwill was having, so I saved a little bit there too, but had to come out little more in the end to get this where I wanted it to be.
Here she was:
 |
|---|
| Where we started: A Dell Optiplex 3040 from Goodwill |
The goal was to transform it into a capable desktop and gaming system, able to play AAA games and support home office use.
Getting Started
Original Specifications
- Processor: Intel Core i3-6100
- Memory: 8GB DDR3L RAM
- Storage: 1TB Hard Drive
- And not much else!
Requirements
- The computer needs to run and support AAA games
- The computer needs to run and support video editing
- The computer needs to run and support CAD
The Muscle Behind the Machine
Motherboard
I replaced the old motherboard with a Genuine Dell Optiplex 7070 MT Desktop Motherboard DDR4 LGA1151 NRKPK. This upgrade was essential to support the new Intel Core i9 processor and other components I planned to add. This was needed in order to support the i9-9900 processor that I planned to put in there, and was the most cost effective way for me to do this, as the motherboard for a 7070 was ~$24 on eBay.
Power Adapter
To connect the new power supply to the Dell motherboard, I used a 24 Pin to 6 Pin ATX PSU Power Adapter Cable. This adapter was necessary to ensure compatibility and provide the required power.
Processor
The heart of the upgrade is the Intel Core i9-9900. This processor, with its 5.0 GHz speed and eight cores, provided a significant performance boost over the original i3. The increased power and efficiency made it a no-brainer choice for this build. I had this processor on hand, through swapping and collecting PC parts over the years, so it was about time this was used.
Storage
I had a 1TB Samsung SSD 970 EVO Plus M.2 NVMe drive on hand and installed that as the primary to handle the primary storage, ensuring fast boot and load times. Additionally, I included a 1TB T-FORCE SSD for extra storage for gaming and performance while gaming. For “dump” storage, I used a 500GB WD Blue SN570 SSD. These storage solutions provided a significant boost in speed and capacity over the 1 TB HHD that originally came with the system.
CPU Cooler
To manage the heat from the new processor, I installed a Noctua NH-U9S Chromax Black, 92mm Single-Tower CPU Cooler. Known for its excellent cooling performance and quiet operation, this cooler ensures the i9 stays cool even under heavy loads. The I9-990 is known to be a volcano of a processor, so this will be a necessity. And it looks really cool.
Ventilation
To improve overall airflow, I added an AC Infinity Ventilation Grille (or Grill for the rest of this post), which supports two 120mm fans. This upgrade was crucial to handle the increased heat output from all the new components, keeping the system running smoothly and efficiently. I opted out of the fan installation from the side, as that would create a fit issue with the new components. I would install this on the side panel to promote air flow and heat dissipation.
WiFi and Bluetooth
For modern connectivity, I opted for the TP-Link WiFi 6 PCIe card. This card supports the latest WiFi 6 standard and Bluetooth 5.2, providing faster and more reliable wireless connections. It also offers ultra-low latency, making it perfect for gaming and other high-bandwidth activities.
Power Supply
Upgrading to a Corsair SF600 600W Fully Modular Power Supply was a key step. The fully modular design helped keep the cabling neat and unobstructed, ensuring good airflow and providing reliable power to all the new components.
Storage Adapter
I added an M.2 NVME to PCIe 3.0 x4 Adapter with an aluminum heatsink. This allowed me to install an NVMe drive, offering blazing-fast storage speeds and enhancing the overall performance of the system.
Memory
For memory, I chose a 32GB kit of TEAMGROUP Elite DDR4 RAM. With four 8GB sticks running at 2666MHz, this upgrade significantly boosted the system’s multitasking capabilities, making it more responsive and efficient.
Case Fans
To further enhance cooling, I added 4 ARCTIC P8 Max 80mm case fans. This high-performance fan, optimized for static pressure, ensures efficient cooling even under heavy workloads, keeping all components running at optimal temperatures. After gutting the interior drive bays, three fans were installed at the front of the computer and acted as the intake for fresh air while the rear fan acted as the vent.
Graphics Card
The graphics department saw a major upgrade with the ZOTAC Gaming GeForce RTX 3060 Ti Twin Edge OC LHR 8GB GDDR6. This card delivers excellent performance for gaming and other graphics-intensive tasks, making the FrankenPlex a versatile and powerful machine.
Note: After several months of use, the graphics card started showing signs of malfunction. One fan would wind down to 0 RPMs, and start back up, ratting in the process. This would happen every 45 seconds or so. This was overcome by the installation of MSI Afterburner and manually adjusting the fan speeds to keep the fans running at 40% and not stop for any reason.
The Looks
Modifications to the Case
To fit all these components into the original Dell Optiplex 3040 case, several modifications were necessary. I removed the interior drive bays to make room for the larger GPU and improve airflow. Additionally, I had to remove some case material to ensure proper clearance for the fans and the GPU. Adjustments were also made to the rear IO shield, as the new motherboard didn’t match the original panel. As mentioned, I bought the grill specifically for the side panel and that required some minor cutting into the side panel to make that fit.
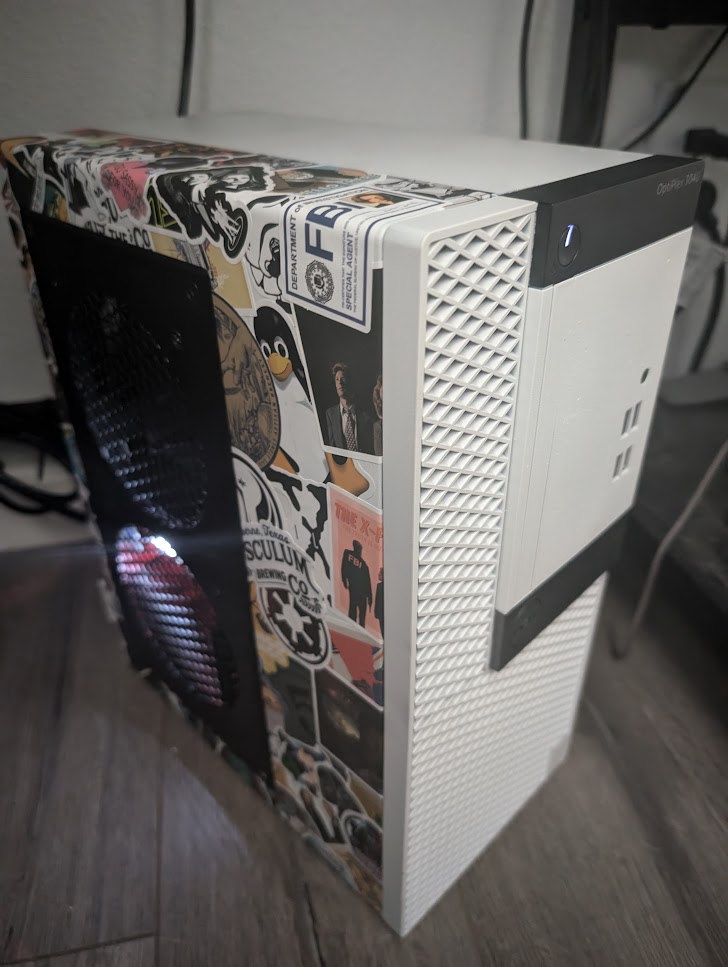
I also had an abundance of stickers that I’ve collected over the years, so why not add them to the removable side panel?
The Brains
Software and Performance
Initially, this desktop ran Fedora Workstation, which was perfect for my needs. However, to fine-tune the fan controller on the new graphics card, I switched to Windows 11 and used MSI Afterburner. This allowed for better management and optimization of the system’s performance.
Running on Linux was the plan from the get-go, but it caused a great amount of heat stress to the system due to the graphics card fan issues mentioned earlier. After installing Windows 11 and MSI Afterburner, I was able to properly tune the fans, as previously discussed.
Another issue I had was actually installing Windows. From Linux, there is no way to create a Windows certified installation disk and one must create a boot drive. Not an uncommon task after years of distro hopping, but no matter the boot disk creation method, the Windows installation disk would kick out an error and the installation would fail.
Luckily, the system came with Windows 10 Home on the 1 TB HDD. I performed a system migration from the HDD using MiniTool Partition Wizard and things went smoothly for the migration. Post migration, I upgraded to Windows 11 and purchased a key to properly activate it on my system. I additionally bought a MS Office key as well basically turning this into a Windows machine… If it works, it works…
The End Product
 |
|---|
| The final product: The FrankenPlex |
Transforming the Dell Optiplex 3040 into the “FrankenPlex” was an ambitious project that resulted in a powerful, custom-built desktop capable of handling intensive tasks and modern applications. Each component was carefully selected to ensure compatibility and performance, making the FrankenPlex a unique and high-performing machine.
It felt good getting back into tinkering with hardware, which I haven’t done in awhile and I’m more than happy with the results.
All the best.
- Jeff